Thor (Female)
Step 1- Ideas
|
|
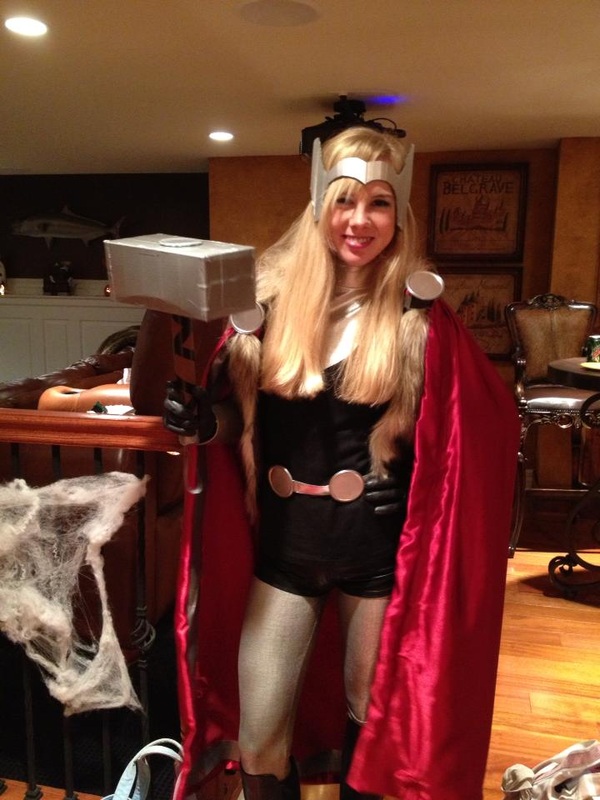
For this costume I focused on the Norse god part of Thor's costume. I wanted to make it as close as possible, but still doable. I based my costume more on the female adaptations of his costume than his actual costume and it turned out great!
|
Step 2- Plan
|
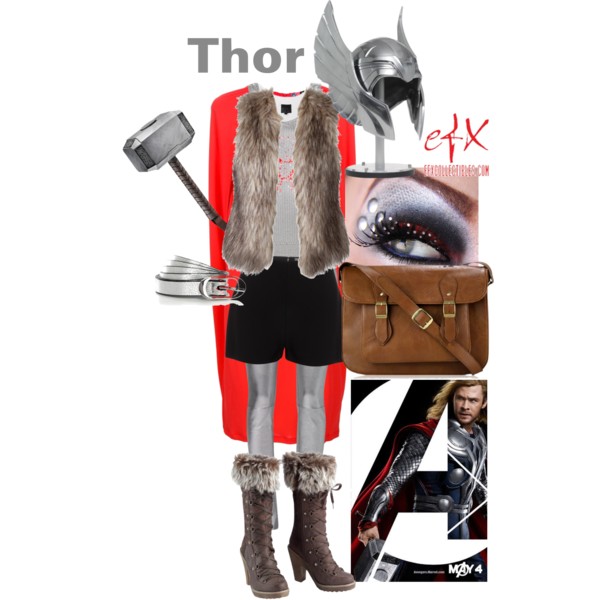
Head: Winged Helmet (make)
Shoulders: Red Cape (have) If you don't have a piece of red cloth around, try either going to a fabric store and getting a yard or look around for some red curtains. Top: Either silver shirt, or silver undershirt with a black v-neck (have or buy) Vest: Fur vest (Have or buy) Belt: Silver belt with circles (Make / have) Bottoms: Black shorts with silver leggings (have) Shoes: Furry boots (Have or buy) Props: Hammer (make) |
Step 3- Time to start making
Project 1: Headdress
|
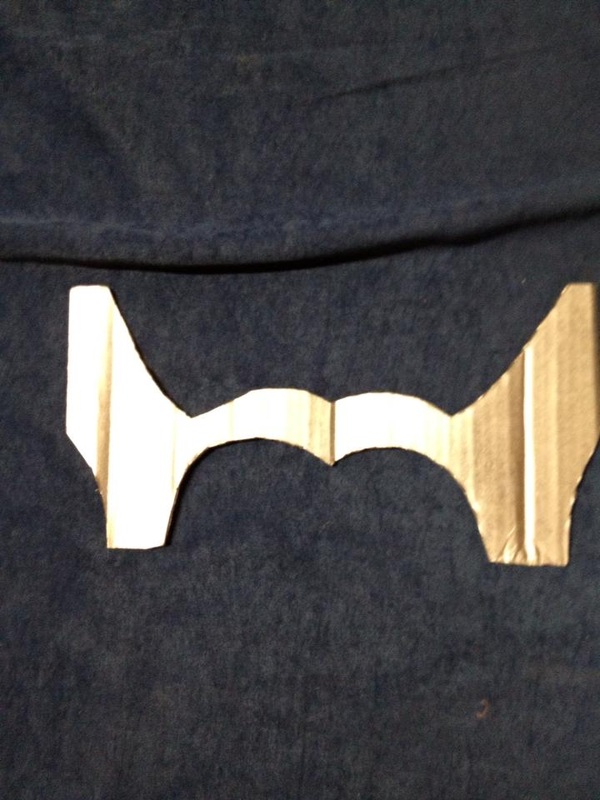
This one had me a pretty confused until I actually did it. I went with a headband design like the image in the idea section instead of a full helmet, but If you want to do a full helmet I would recommend making the parts out of cardboard and then gluing them onto a helmet.
|
|
Materials Needed:
- Cardboard - Ballpoint pen - Xacto Knife - Silver Spray paint. - Headband The directions are pretty simple. Pretty much draw this shape onto cardboard, cut out and spray paint. Hot glue the bottom edge onto a headband. The advantage to using cardboard in this instance is that it is stiff, but can curve if you bend it. |
Project 2: Hammer
|
Mjolnir. Also known as Thor's hammer. This one is actually a lot simpler than it looks. I decided not to do the designs on the edges, but feel free to look up pictures and add it. Not including dry time, this one took me about 20 min. Instructions are below.
|
|
|
Materials needed:
- Rectangular Tissue box (empty) - Styrofoam block. - Paper towel roll - Duct tape (entire roll) - Electrical Tape - Hot glue - Cardboard - Brown Paint -Black electrical Tape |
1) Cut at the diagonals of the tissue box on the side that has the opening. This opens the box to slide the Styrofoam block in. Hot glue the block in as best you can (doesn't matter if it is slightly off). Fold the flaps back over.
2. Paint the paper towel roll brown. Wrap electrical tape in a crossing pattern along the length of the shaft. 3. Dig a hole the diameter of the paper towel. Hot glue the paper towel roll into the hole. 4. Wrap duct tape around the entire hammer, watching edges and making it as smooth as possible. 5. Make a loop of duct tape big enough to fit your hand. Hot glue the loop into the inside of the tube. Cover the opening with duct tape. 6. Cut a circle in cardboard. Cover in duct tape. Glue to the top. (Optional) Add designs to the hammer. |
Project 3: Belt and Clasps
|
I don't have a specific image of these because I literally taped it on her than cut it off at the end. You can see it on her waist at the image at the bottom. These are a cuter version of his breast plate.
|
Materials needed:
- Duct tape - Cardboard - Silver spray paint These are pretty simple. Make a belt out of duct tape by folding it over (so the sticky part sticks to itself). Try not to have a lot of folds. Cut circles out of cardboard and spray paint. Make three for the belt, and two for the shoulders. To attach the cape: I tied the fabric to the vest, then made two loops and looped it around my knot. |
Step 4-Assemble